mirror of
https://gitee.com/dotnetchina/OpenAuth.Net.git
synced 2025-04-05 17:38:01 +08:00
88 lines
2.9 KiB
Markdown
88 lines
2.9 KiB
Markdown
|
|
# 部署API
|
|||
|
|
|
|||
|
|
## 生成发布文件
|
|||
|
|
|
|||
|
|
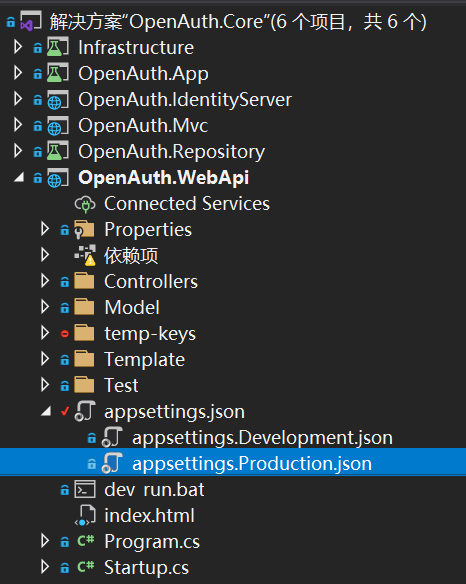
* 修改部署环境的连接字符串信息,特别注意是`appsettings.Production.json`文件:
|
|||
|
|
|
|||
|
|
|
|||
|
|
::: warning 注意
|
|||
|
|
决定系统部署后读取`appsettings.json`还是`appsettings.Production.json`是通过操作系统的环境变量`ASPNETCORE_ENVIRONMENT`来控制的。
|
|||
|
|
在centos切换成正式可以用
|
|||
|
|
```shell
|
|||
|
|
export ASPNETCORE_ENVIRONMENT=Production
|
|||
|
|
```
|
|||
|
|
|
|||
|
|
或者修改/etc/profile配置,在结尾添加:
|
|||
|
|
```shell
|
|||
|
|
ASPNETCORE_ENVIRONMENT=Production
|
|||
|
|
export ASPNETCORE_ENVIRONMENT
|
|||
|
|
```
|
|||
|
|
然后刷新:
|
|||
|
|
```shell
|
|||
|
|
source /etc/profile
|
|||
|
|
```
|
|||
|
|
在Widows系统中增加对应环境变量即可
|
|||
|
|
|
|||
|
|
:::
|
|||
|
|
|
|||
|
|
* 直接在解决方案资源管理器中,选中OpenAuth.WebApi右键【发布】,出现下面的配置框,使用文件系统即可:
|
|||
|
|
|
|||
|
|

|
|||
|
|
|
|||
|
|
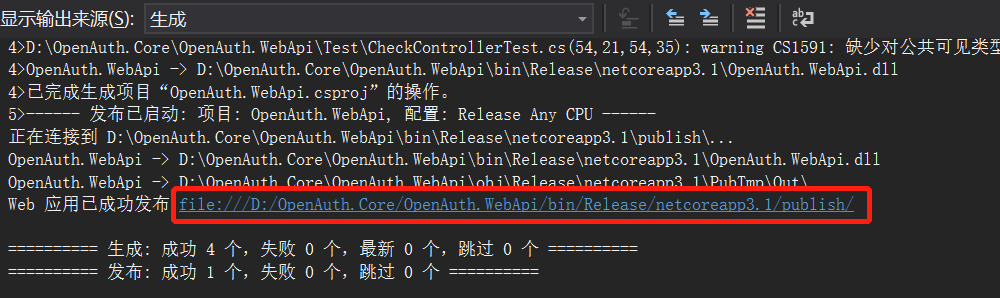
* 发布完成后可以在输出目录看到发布详情(红色框内即为发布的文件夹):
|
|||
|
|
|
|||
|
|
|
|||
|
|
|
|||
|
|
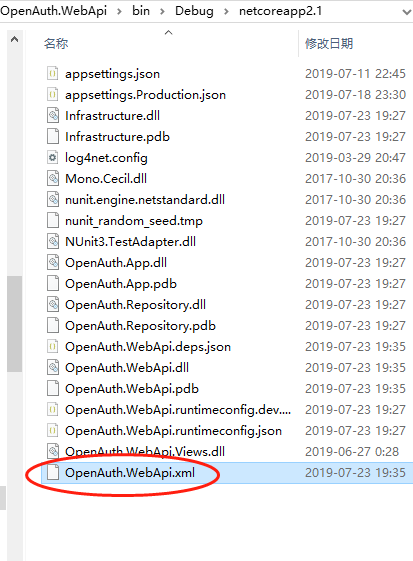
* 将Debug目录中的OpenAuth.WebApi.xml拷贝到发布文件夹publish:
|
|||
|
|
|
|||
|
|
|
|||
|
|
|
|||
|
|
## 部署OpenAuth.WebApi
|
|||
|
|
|
|||
|
|
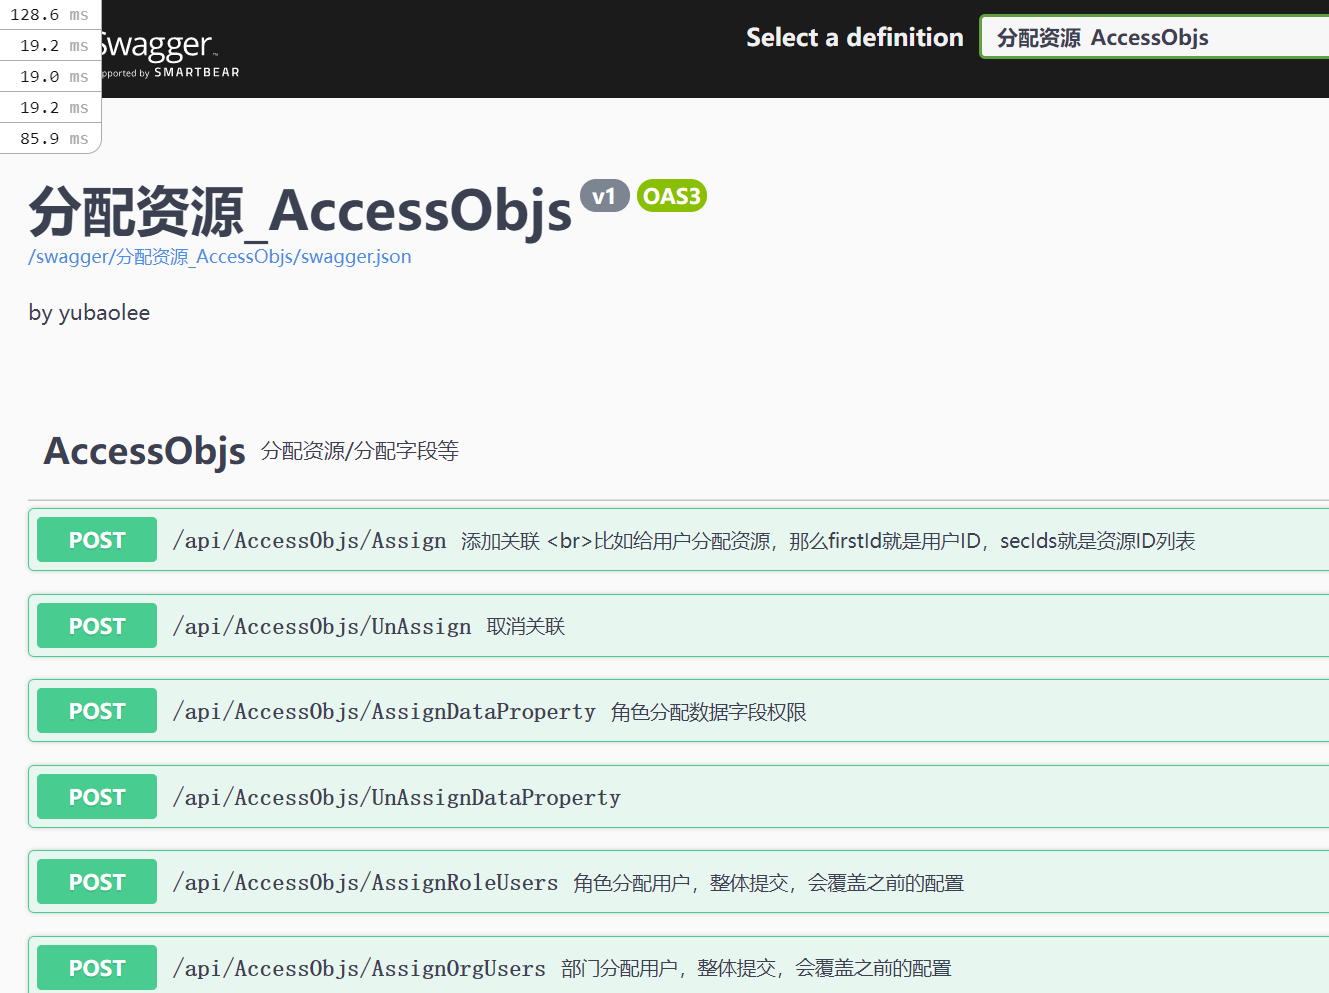
将发布后的文件拷贝到服务器文件夹。直接使用`dotnet OpenAuth.WebApi.dll` 命令启动。启动成功后使用浏览器打开[http://localhost:52789/swagger/index.html](http://localhost:52789/swagger/index.html) 即可访问,如下图所示:
|
|||
|
|
|
|||
|
|
|
|||
|
|
|
|||
|
|
|
|||
|
|
## jenkins部署OpenAuth.WebApi
|
|||
|
|
|
|||
|
|
OpenAuth.Core采用的是gitee托管源码,只需使用Gitee WebHook构建触发器。配置如下:
|
|||
|
|
|
|||
|
|

|
|||
|
|
|
|||
|
|
做好上面的配置后,代码提交时就会触发jenkins工作。剩下的就是编写自己的构建脚本。增加构建步骤,选择执行Shell。并输入以下脚本:
|
|||
|
|
|
|||
|
|
```shell
|
|||
|
|
#!/bin/bash
|
|||
|
|
kill -9 $(ps -ef|grep OpenAuth.WebApi.dll|grep -v grep|awk '{print $2}')
|
|||
|
|
|
|||
|
|
#export BUILD_ID=dontKillMe这一句很重要,这样指定了,项目启动之后才不会被Jenkins杀掉。
|
|||
|
|
export BUILD_ID=dontKillMe
|
|||
|
|
pwd
|
|||
|
|
echo $PATH
|
|||
|
|
dotnet restore
|
|||
|
|
|
|||
|
|
cd ./OpenAuth.WebApi
|
|||
|
|
pwd
|
|||
|
|
echo '============================begin build======================================='
|
|||
|
|
dotnet build # 为了生成XML注释文件 用于swagger注释
|
|||
|
|
|
|||
|
|
rm -rf /data/openauthapi
|
|||
|
|
mkdir /data/openauthapi
|
|||
|
|
|
|||
|
|
cp ./bin/Debug/netcoreapp3.1/OpenAuth.Repository.xml /data/openauthapi/
|
|||
|
|
|
|||
|
|
cp ./bin/Debug/netcoreapp3.1/OpenAuth.App.xml /data/openauthapi/
|
|||
|
|
|
|||
|
|
cp ./bin/Debug/netcoreapp3.1/Infrastructure.xml /data/openauthapi/
|
|||
|
|
|
|||
|
|
dotnet publish -c:Release -o /data/openauthapi # 如果针对给定运行时发布项目带上-r 如:-r centos.7-x64
|
|||
|
|
|
|||
|
|
nohup dotnet /data/openauthapi/OpenAuth.WebApi.dll &
|
|||
|
|
|
|||
|
|
#cp ./bin/Debug/netcoreapp2.0/您的项目路径.xml $WORKSPACE/jenkins_publish/ # 拷贝swagger注释
|
|||
|
|
echo '============================end build======================================='
|
|||
|
|
```
|
|||
|
|
|
|||
|
|
|